Whether it is for unlocking the bootloader on the Redmi Note 10 series or rooting the Redmi Note 10/Pro/Max via magisk without TWRP, there’s a lot that you could try out. All this straightaway translates to your ability to install a plethora of mods. These include the likes of Xposed Framework, Magisk Modules, and Substratum Themes. However, this is just one side of the coin. If you end up flashing an incorrect binary or flash the correct file to the incorrect partition, then you’re inviting trouble. In other words, a bootloop or soft-brick device is on the cards. Fortunately, there’s a handy way out in such cases. You could easily flash the stock firmware (MIUI Fastboot ROM) and bring your device back to life. And in this guide, we will show you how to do just that. Given here are the detailed instructions that will help you to unbrick Redmi Note 10 Pro/Max via Fastboot Commands.
Download Patched Firehose File (prog_emmc_firehose.mbn) for 600+ Android DevicesUnbrick Redmi Note 7 | Note 8 | Note 9 Series: The Fix?Fix Mi Account Authorization | Unbrick Xiaomi | EDL ModeHow to Bypass Xiaomi Account Verification via Mi Unlock Tool
Xiaomi and EDL Mode: It’s Complicated!
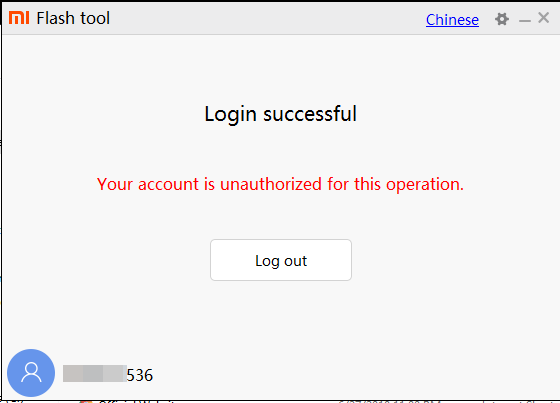
Recently Xiaomi made a massive change that leads to disastrous consequences for the tech enthusiasts and developers alike. The only ones who would remain unaffected by this decision are the ones who maintain a safe distance from Unlocking Bootloader, Rooting, and Flashing Custom binary. Rest all the users like us who are engrossed in these tweaks are the suffering party. So what really happened? The devices that have Qualcomm as the underlying chipset come with EDL Mode or the Emergency Download Mode. You only need to boot your device to EDL and flash the firmware file and your device will be back from dead. Unfortunately, Xiaomi decided to block this EDL mode for the general users.
So only the users who have an authorized Mi Service Centre ID could flash the firmware via Mi Flash Tool in EDL Mode. As for the general users, there does exist a workaround in the form of using the Redmi Note 10 Pro Patched Firehose File (prog_emmc_firehose.mbn) or the prog_firehose_ddr_unbrick.elf file. However, finding both these files is among the most challenging task ever. With that said, if your Xiaomi device is stuck in bootloop or soft brick mode, there is still a handy way out. You could easily unbrick your Xiaomi device (which in this case is Redmi Note 10 Pro/Max) via Fastboot Commands. We wouldn’t be using any Mi Flash Tool or any other software for that matter. So how will then this task be carried out? Follow along for the detailed instructions.
How to Boot any (Bricked/Unbricked) Android Device to EDL ModeRoot Android 11 via Magisk Patched boot.img (without TWRP)Fix Magisk patched boot.img issueHow to Pass Magisk SafetyNet on Rooted Android 11
How to Unbrick Redmi Note 10 Pro/Pro Max via Fastboot Commands
Now that we are done with the explanation part, let’s turn our attention towards the unbrick instructions. As I have already mentioned before, the below instructions are only valid for devices that are soft-bricked or in a boot loop. Furthermore, the process is going to wipe all the data on your device. So keep this thing in mind before proceeding and take a backup beforehand (if possible by any means). Droidwin and its members wouldn’t be held responsible in case of a thermonuclear war, your alarm doesn’t wake you up, or if anything happens to your device and data by performing the below steps.
STEP 1: Download Android SDK
To begin with, download and install the Android SDK Platform Tools. This is the official ADB binary file provided by Google and is used to execute ADB and Fastboot Commands. So download and then extract it to any convenient location on your PC.
STEP 2: Download Redmi Note 10 Pro/Max Fastboot ROM
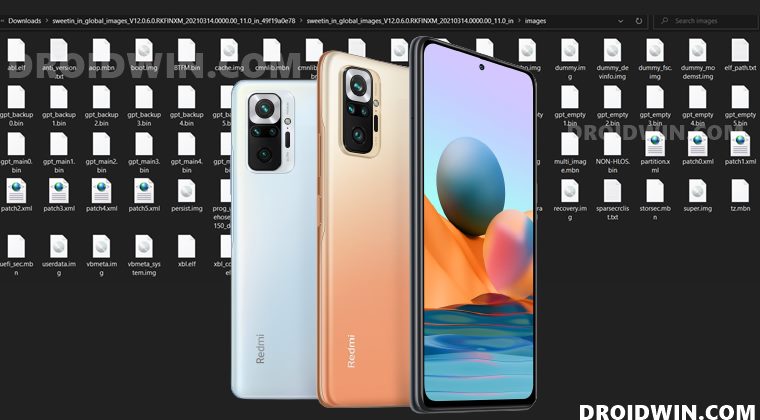
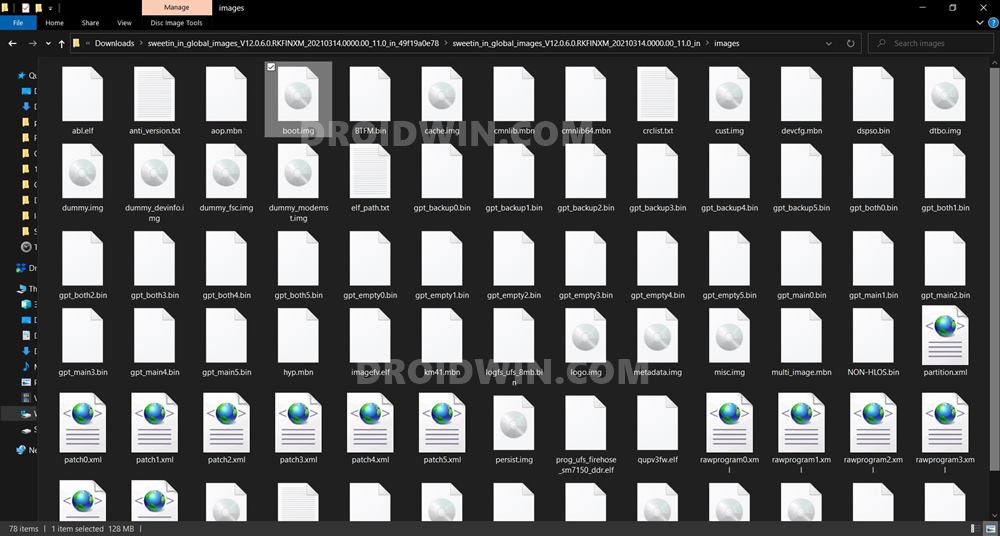
Next up, download the Fastboot ROM for your device. As for this guide, I am using the following ROM file: Redmi Note 10 Pro/Max India (sweetin) V12.0.6.0.RKFINXM. You are free to try any version of your choice, but it is recommended to try the newer builds only and of your region. To download the firmware, you may use the official MIUI Forum. Or if that is inaccessible, you may also take the help of a third-party site such as Xiaomi Firmware Updater. Furthermore, if you wish to understand the Xiaomi Fastboot firmware version, you may refer to our comprehensive guide on What is MIUI Fastboot ROM for Xiaomi, Mi, Redmi, Poco Devices. Or here’s the instruction in short,
12.0.6.0 – Firmware versionR – Android version (R-> Android 11).RF – Smartphone model code (RF= Redmi Note 10 Pro / Pro Max)IN – Firmware build type (IN for India | MI for Global | EU for Europe)XM – Firmware version code
Now that you have got hold of the required firmware file, proceed ahead to the next step to unbrick Redmi Note 10 Pro/Max via Fastboot Commands.
STEP 3: Move Redmi Note 10 Pro/Max Fastboot ROM Files to ADB Folder
STEP 4: Boot Bootloop/Soft Bricked Redmi Note 10 Pro/Max to Fastboot Mode
STEP 5: Flash Firmware via Fastboot Commands to Unbrick Redmi Note 10 Pro/Max
Finally, we are down to the most important part of this article. I have shared all the required fastboot commands to flash the stock firmware onto your Redmi Note 10 Pro/Max and unbrick it. To begin with, make sure that your device is connected to the PC via USB in Fastboot Mode. Then head over to the Command Prompt window that is opened inside the platform-tools folder.
Now execute the below commands in this CMD window. I would highly recommend that you execute these commands one at a time, rather than copy-pasting all of them at one go. Once you have successfully executed all the above commands, your device will reboot to the OS. And with that, we conclude the guide on how to unbrick Redmi Note 10 Pro/Max via Fastboot Commands. The best part about this tutorial is the fact that it doesn’t require any Redmi Note 10 Pro/Max Patched Firehose File (prog_emmc_firehose.mbn) or the prog_firehose_ddr_unbrick.elf file. Furthermore, we didn’t need to make use of the Mi Flash Tool. With that said, if you have any queries concerning the aforementioned steps, do let us know in the comments section below. We will get back to you with a solution at the earliest.
About Chief Editor


