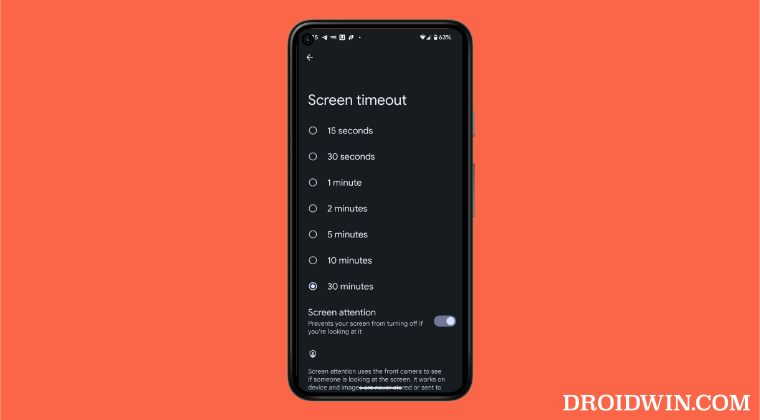
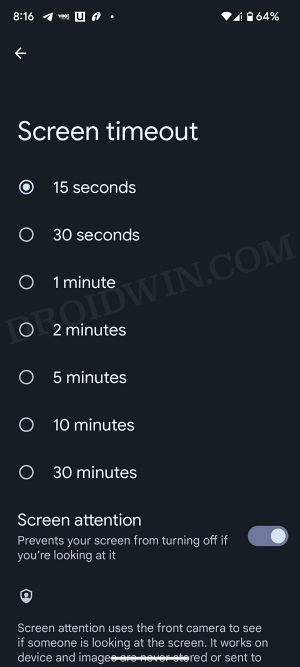
But I recently came across an instance wherein even this max time frame was not sufficient enough. And I guess, there might be a few others in my shoe who would like to have this time frame extended. So on that note, this guide will show you the steps to increase the screen timeout duration beyond the 30 minutes time limit on your Android device. Follow along.
How to Increase Screen Timeout Duration Beyond 30 Minutes on Android
The below instructions are listed under separate sections for ease of understanding. Make sure to follow the same sequence as mentioned.
STEP 1: Install Android SDK
First and foremost, you will have to install the Android SDK Platform Tools on your PC. This is the official ADB and Fastboot binary provided by Google and is the only recommended one. So download it and then extract it to any convenient location on your PC. Doing so will give you the platform-tools folder, which will be used throughout this guide.
STEP 2: Enable USB Debugging
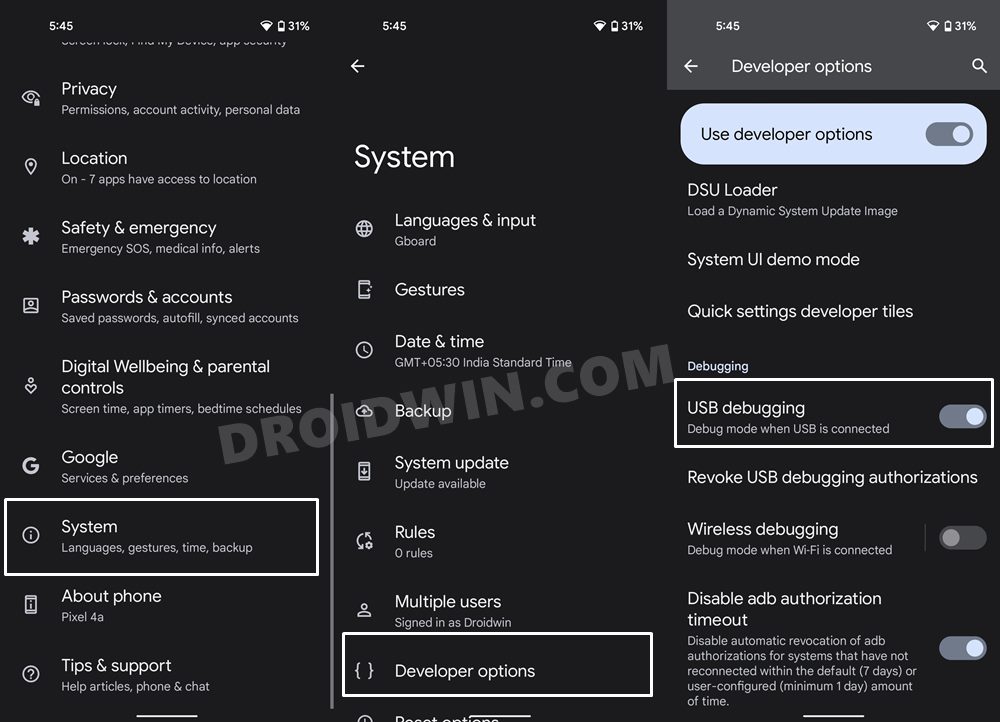
Next up, you will have to enable USB Debugging on your device so that it is recognizable by the PC in ADB mode. So head over to Settings > About Phone > Tap on Build Number 7 times > Go back to Settings > System > Advanced > Developer Options > Enable USB Debugging.
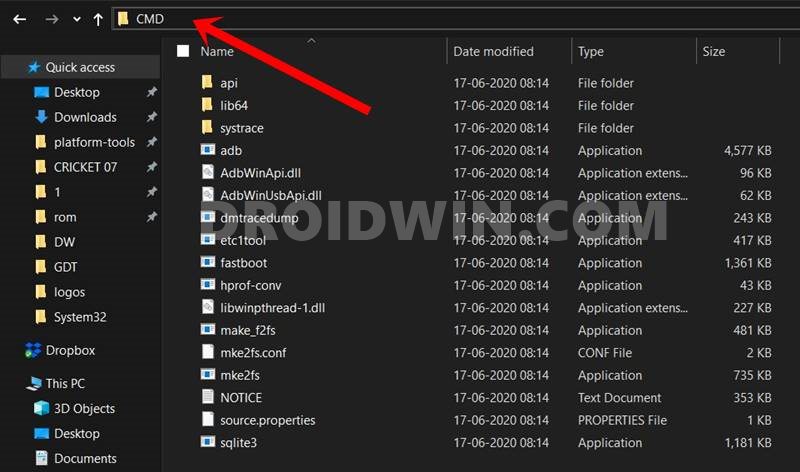
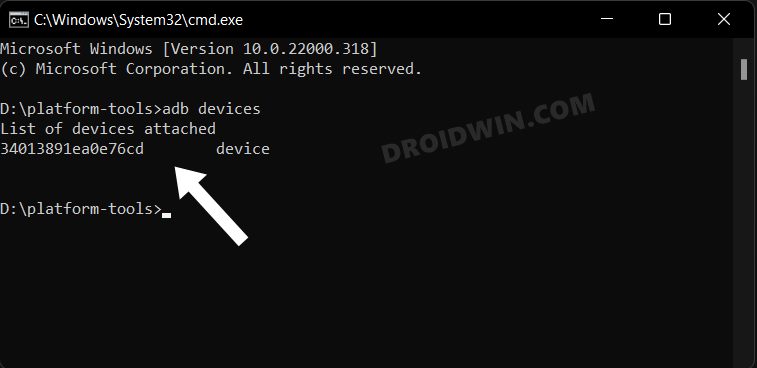
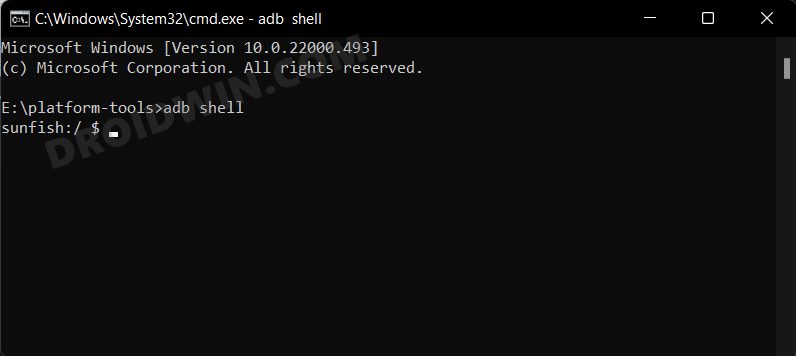
STEP 3: Establish ADB Shell Connection
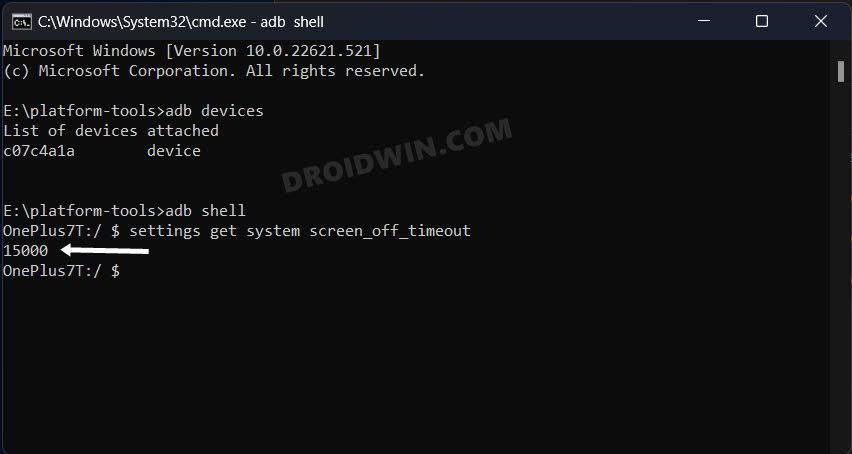
STEP 4: Increase Screen Timeout Duration Beyond 30 Minutes
That’s it. These were the steps to increase the screen timeout duration beyond the 30 minutes time limit on your Android device. If you want to revert this change, then just head over to Settings > Display > Screen timeout and select the desired value from the list. Apart from that, if you have any queries concerning the aforementioned steps, do let us know in the comments. We will get back to you with a solution at the earliest.
Uninstall Updates missing for System Apps in Android 13: How to FixHow to access Android 13 Data and OBB folder & transfer files in themScreen Timeout not working in Android 12: How to FixRecent Apps Button not working in Pixel after Android 12 [Fixed]
About Chief Editor
