Moreover, the name of the folder will be the same as the name of that account. However, in some instances, you might want to assign a different name to that folder. Unfortunately, this process has been made overly complicated by the Redmond giant. Even if you are currently logged in as an administrator, you wouldn’t be able to carry out this process. This is because you cannot make any changes to system-level files/folders if you are currently logged in via that same account. So you will first have to create a new admin account and then rename the User folder in Windows 11 from that account. Once that is done, you may then delete that new admin account and revert to your original account. All this has been explained in depth below, so without any further delay, let’s get started.
How to Rename a User folder in Windows 11
The below process has been listed under separate sections for ease of understanding. Make sure to follow the same sequence as listed below.
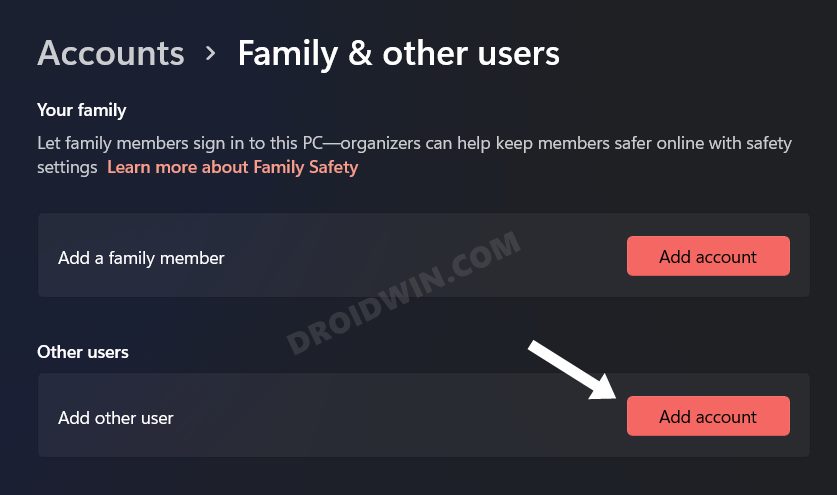
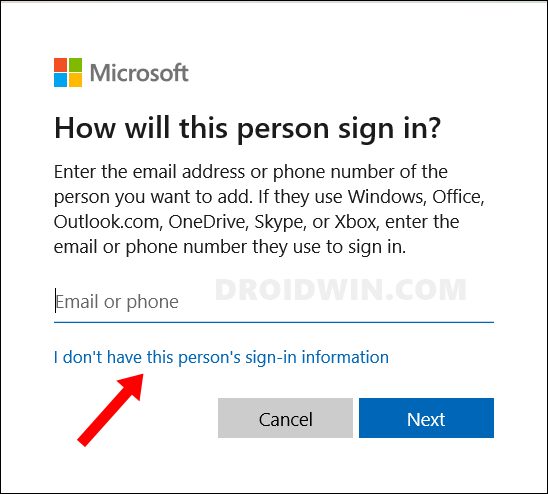
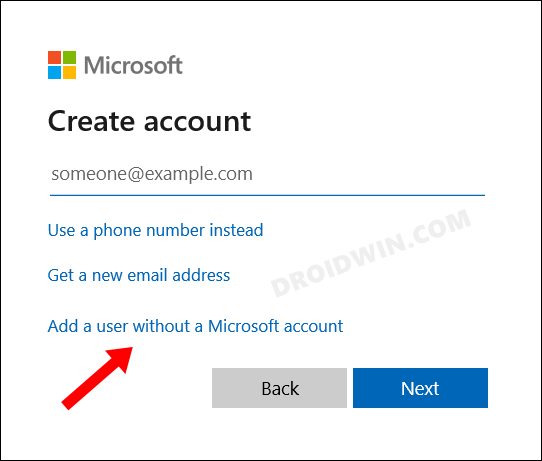
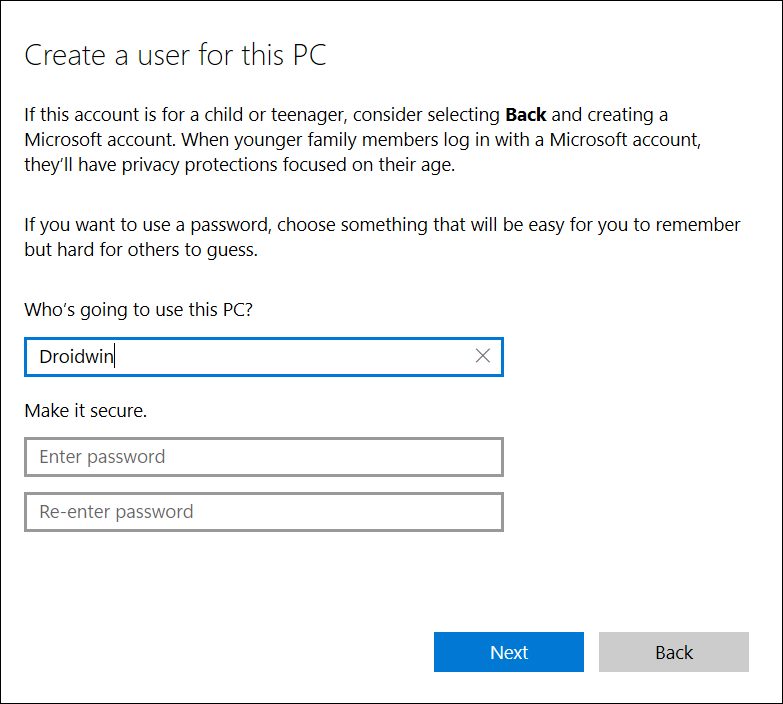
STEP 1: Create a New Administrator Account
First and foremost, you will have to create a new admin account as you wouldn’t be able to carry out the said task via your current admin account. You may delete this account as well once the entire process is completed.
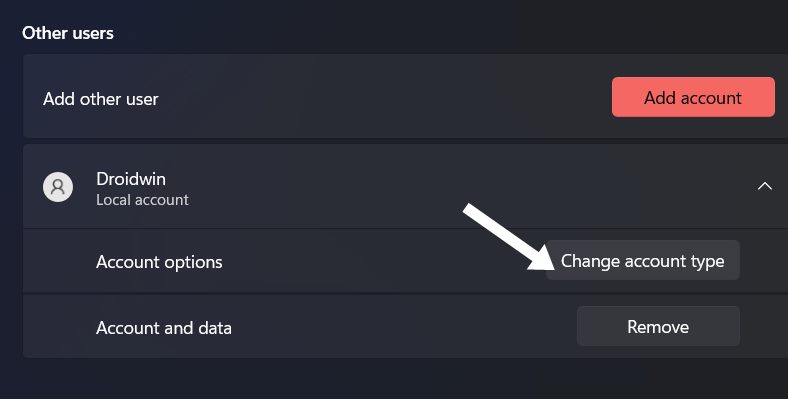
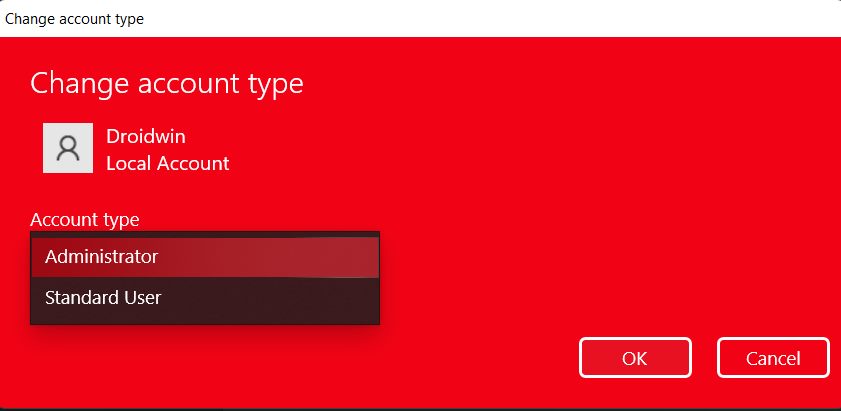
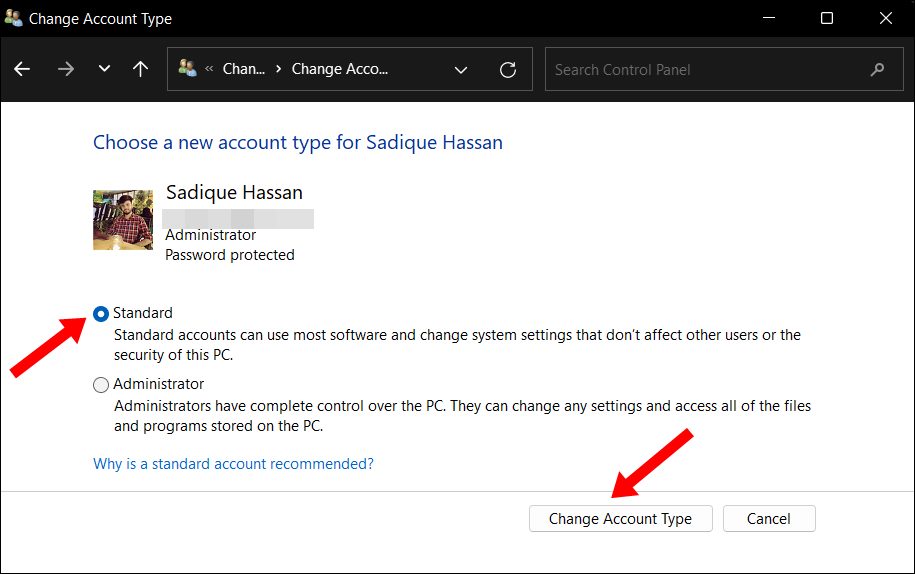
STEP 2: Temporary Switch admin account to standard
As of now, your PC has two administrator accounts- the original one and the one that you had just created. This might lead to a conflicting scenario. So you should convert your original account to a standard account for the time being. Once the task of renaming the User folder in Windows 11 is done, we will then revert it to the admin account [and also delete the new admin account].
STEP 3: Sign in to the New Admin Account
From now on, all the tasks that we would be carrying out would require administrative-level privileges. However, since your current account is no longer an admin account, you will have to log out from it and switch to the new admin account that we have created.
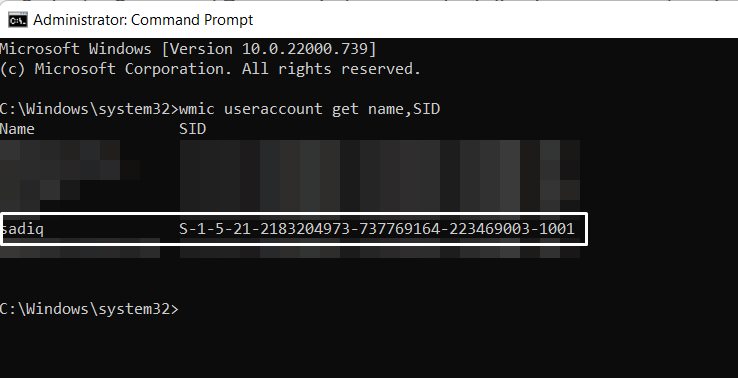
STEP 4: Note down Account SID
You will now have to note down the SID for your original administrator account [which for the time being has been converted to a standard account].
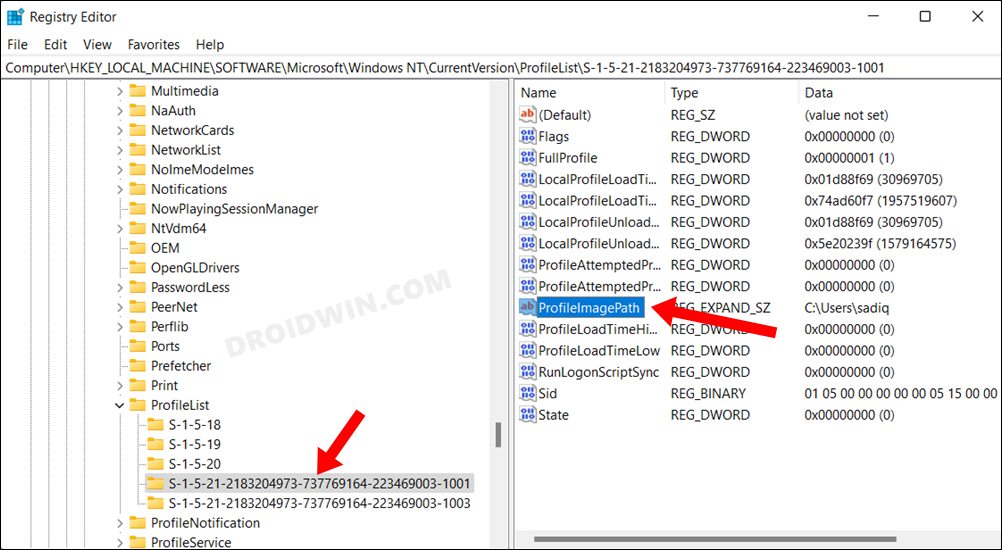
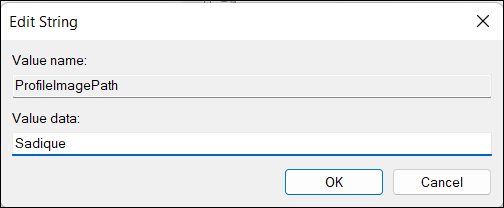
STEP 5: Change the ProfileImagePath
You will now have to change the address of the ProfileImagePath to the new name that you wish to assign to the User folder.
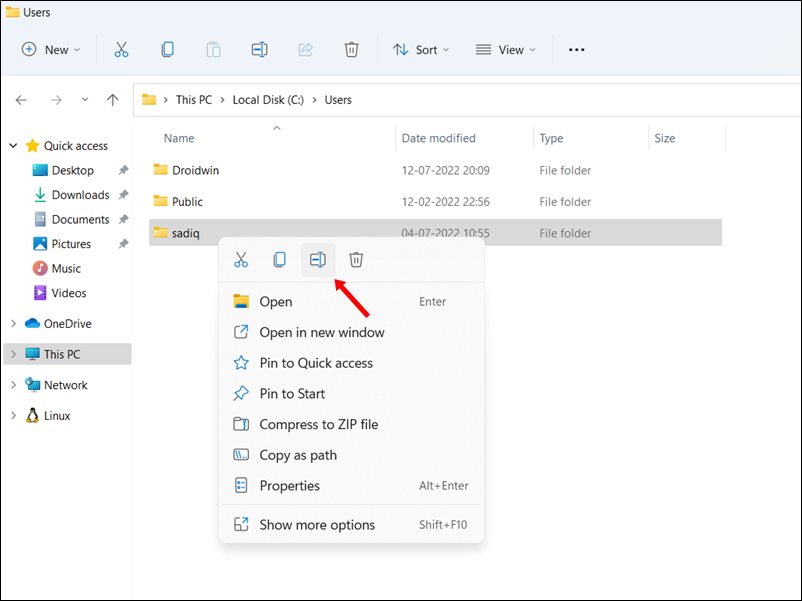
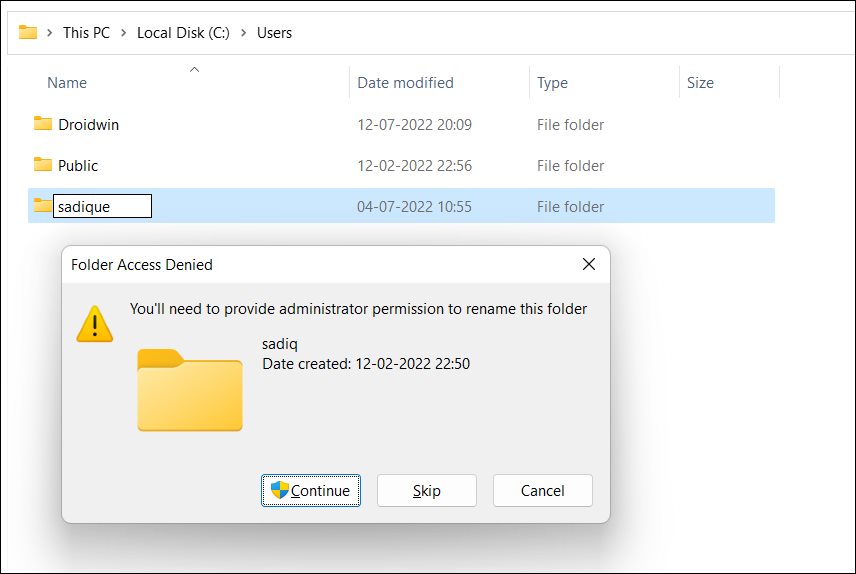
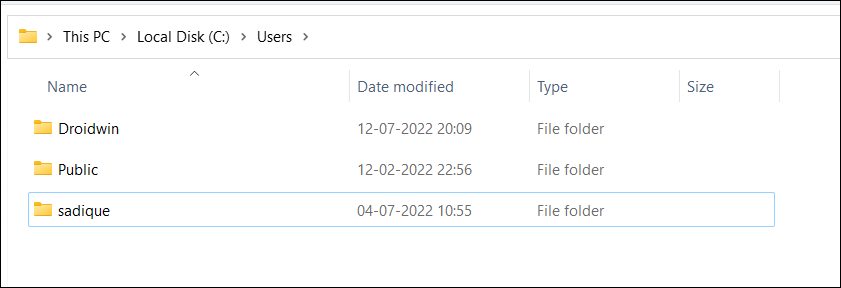
STEP 6: Change the Name of User folder in Windows 11
STEP 7: Delete the New Admin Account [Optional]
Now that your work is done, you may delete the new admin account and grant the admin privileges to the original admin account [all this is optional]. Here’s how. That’s it. These were the steps to rename the User folder in Windows 11. If you have any queries concerning the aforementioned steps, do let us know in the comments. We will get back to you with a solution at the earliest.
Add ‘Open CMD as Admin’ in Windows 11 Right-Click MenuHow to Create a New Local Account in Windows 11Convert Standard Account to Administrator Account in Windows 11How to Convert Administrator Account to Standard Account in Windows 11
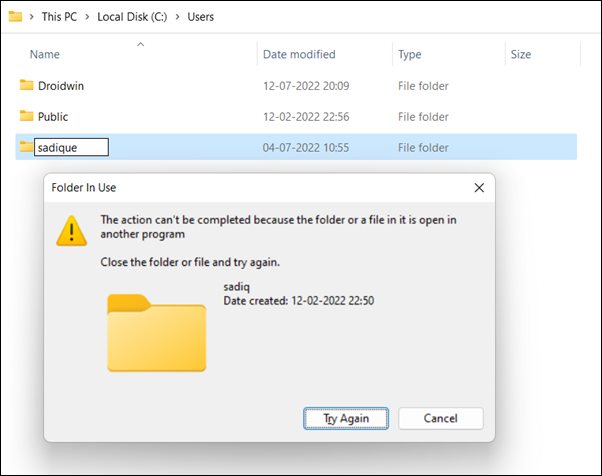
Fix “This action can’t be completed” error when renaming a User folder in Windows
You might get the following error message when renaming a User folder in Windows 11: “This action can’t be completed because the folder or a file in it is opened in another program”.
This happens when you haven’t signed out from your original admin account [which is now a standard account] and have signed in to your new temporary admin account and then tried to rename the user folder. So to fix this issue, you will first have to log into your standard account, sign out from it, log in back to your admin account and carry out the rename process.
About Chief Editor
